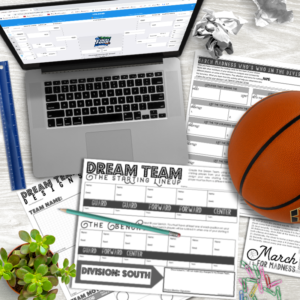
 I. AM. SO. EXCITED. ABOUT. THIS. ONE.
My hope for this activity is that it will spark the interest and engagement of students that otherwise aren’t, that students will be able to see how numbers are all around them and the math they are learning applies outside of school, and even to things they think are cool. I also hope a love of March Madness develops, because I’ll be honest… I don’t always love basketball… but I ALWAYS love March Madness!
This activity is one that kept me up at night. I knew there had to be a way to bring the March Madness excitement into the classroom that incorporated mathematics. I focused on the statistics associated with the game, and from there the idea of combining March Madness, Fantasy Basketball, and Project-Based Learning bloomed.
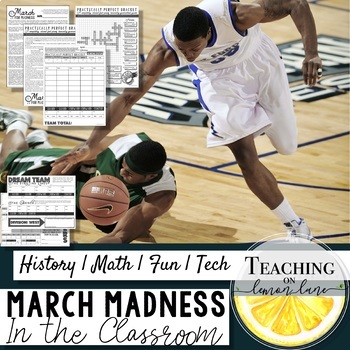
This product includes the following March Madness Activities:
- Detailed step by step instructions
- Details for filling out a private March Madness Bracket Online
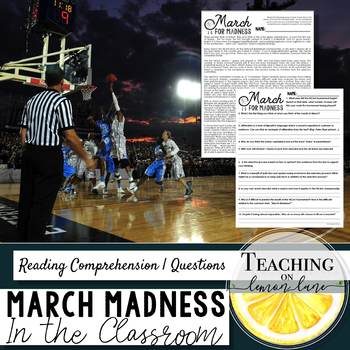
- March Madness reading comprehension and questions
- Research a school of choice and design an infographic (Digital and print versions)
- Differentiation for whole numbers, decimals, fractions, mixed numbers scoring.
- Blank editable version available
- Measurement conversion activity with ratios
- Ordering decimals
- Adding and subtracting decimals
- Multiplying Decimals
- Converting fractions to decimals
- Mean Median Mode and Range using Sports Statistics
- …etc.
This product includes a LOT. You can literally decide how much or how little, or how long you do this project in your classroom. Does the start of March Madness fall on Spring Break? No worries, start the project when you get back and begin to implement during the Sweet 16! Do it for one round, or all of the rounds, you can completely customize this project to your student’s needs!
Click Here to Purchase through Teachers Pay Teachers
I would begin with the March is for Madness Reading Comprehension and questions. This gives a brief rundown of the history, selection process, and terminology that will be useful when building their Dream Team.
If you’re looking for a smaller scale project for March Madness, this is a great alternative and can be purchased separately. ***This is included in the March Madness Math Project above!
Click Here to Purchase on Teachers Pay Teachers
The next activity I would complete would be filling out a bracket. You can do this by either printing off a page with that year’s seeds, or a blank one and filling it in by hand… or do my favorite and do it online using:
https://bracketchallenge.ncaa.com/
Simple, straight-forward, easy, and it will do all of the work for you. Best part is once you register, you can create a group. You can make this group private and put other parameters on the group. Even better you can invite members to the group using email…. or sharing a link. (Hello Google Classroom) Students will sign up using an email and then be invited to complete their bracket.
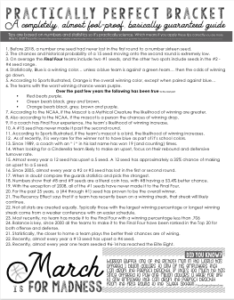
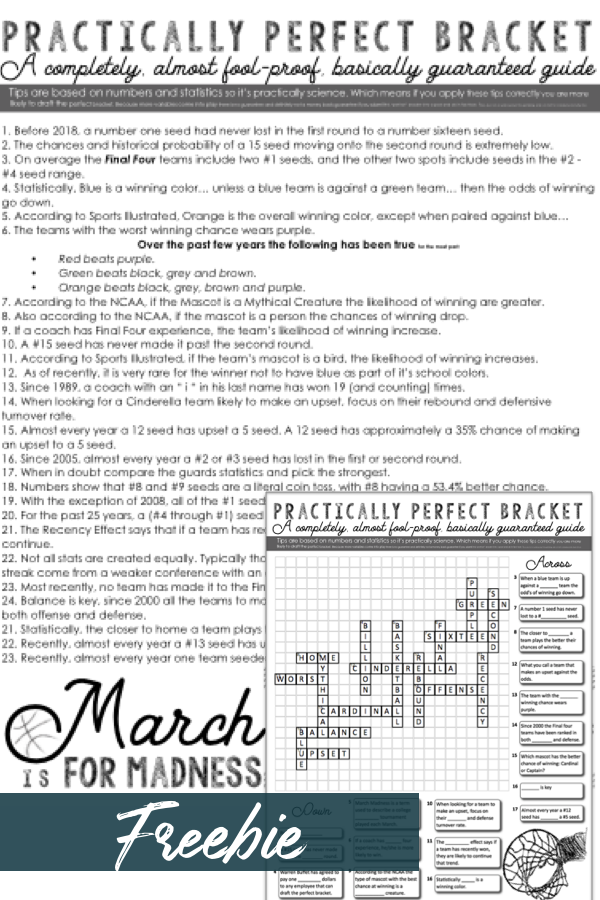
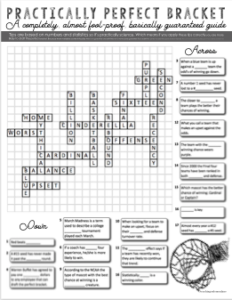 Before you have students fill out their bracket, I would download this free reading and crossword puzzle. This activity is SO FUN. A completely, almost fool-proof, basically guaranteed guide to filling out the perfect bracket. (Tongue in Cheek) This is a fun tip sheet that goes through “bracketology,” and suggests what numbers show as the school color that wins the most, where to pick an upset, and even which mascot is more likely to win. This one is SO FUN. Guaranteed your class will LOVE this Reading Comprehension Passage and Crossword Puzzle. It will especially come in handy when filling out their own Bracket!
The Practically Perfect Bracket Reading Comprehension and Crossword puzzle is an EXCLUSIVE download available for FREE only to members of Teaching on Lemon Lane. Not a member? Not a problem! Sign-up is Fast, FREE, and Easy-Peasy, Lemon Squeezy!
Click Here to Become a Member Fast, Free, and Easy Peasy Lemon Squeezy!
Once everyone has completed the reading, and the free bracketology “Tip Sheet,” I would then begin to divide the class into the 4 divisions found on the bracket: East, West, South, and Midwest. You are basically dividing your class into 4 equal groups. Once in their equal groups students will research a team from their division, and create trading cards for that team. To separate your class into the 4 divisions, I would project a bracket with the teams onto the whiteboard, or simply print off a page with them. From there I would randomly call students to go and write their name or class number next to a school of their choice.
Once a division has approximately 1/4 of the students in your class in it. Close that division. Once all of the divisions are filled and every student has selected a team of their choice, they can then complete an infographic for the school of their choice.
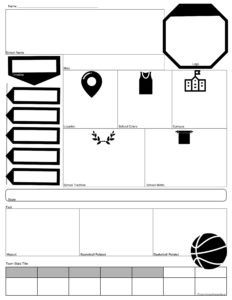 The infographic can either be done digitally through google slides or simply print off the template and have the students draft one on paper. Students will need to visit the school’s official website to track down the information required to complete the project.
***Remember you can do as much or as little of this project as time permits.
Once the infographic is completed I would have the students present what they found out about their school. Personally, presentations to the entire class take FOREVER, and lose engagement fast. If it were me I would separate them into groups of 4 and aim to have one person from each division in each group. Then give the students time to present to the 3 others in their group. You can always do a quick share at the end of the presentations as a whole class where you ask students to share something interesting they learned from a friend.
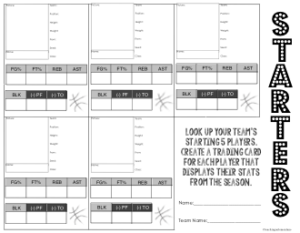
The next activity requires the students to look deeper into their school’s starting basketball team that’s been invited to participate in the NCAA Championship. They will make a trading card for their school’s team starting 5 players. The stats they write on the trading cards need to be based on this year’s basketball season. My favorite website for this information is included in the product instructions.
Once students have their trading cards completed, they will cut them out and literally get ready to trade. Before coming up with a new line up. I would have students complete the “Who’s Who” Activity. Here they will order the players from their division based on different stats like height, weight, field goal %, free-throw %, assists, blocks, fouls, and turnovers.
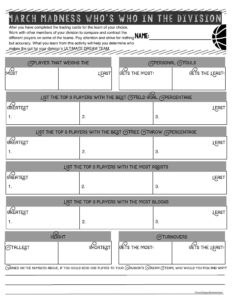 You can have the students complete this page with everyone in the division, or have them work in a smaller group within their division. There are some great math skills that require their understanding of place value that may be better suited in groups of 3. Once they complete this activity they will come back together with their division and use this information to create anew starting line-up for their division. The new DREAM TEAM in their division.
At this point, students should be well versed with the players in their division. This will help as they must decide who makes their division’s New DREAM TEAM, who will start, and who will sit the bench. Students will work within their division to name and agree upon the starting team for their division. I like this to be completed before the first games on Thursday. However, if you are late to start, you can always start the dream team process before a round begins. Just make sure students make trading cards using the teams that are remaining, not of teams that have been eliminated.
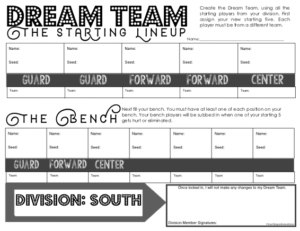
 When students have determined the starting 5 players: 2 guards, 2 forwards, and 1 center, as well as the 7 remaining on the bench. The students must “Lock In” their picks before the first-game of the round begins.
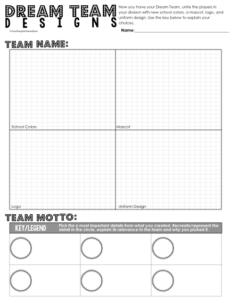
You may choose to have your students complete a DREAM TEAM Design for their Division’s team. A sheet is provided for students to come up with a mascot. Hopefully, they use the stats from the tip chart from the website! Team Colors, a logo, and motto. They will also design the team’s uniform.
 Keep in mind that students will fill out a new “Starting Line-Up” sheet at the end of each round, before the beginning of another. This is when they can pull players from the bench if needed. (Players will be eliminated, or possibly injured and no longer able to play.)
At the beginning of each round, you will need to decide which scoring system will be used to determine the points each player earns. I have a few to pick from ranging from whole numbers, mixed numbers, fractions, and decimals.
There is also an editable version that allows you to decide what the players are awarded points for. At the end of each round the East, West, South, and Midwest Division groups will work together to determine the stats of the individual players on the team for that single game that round.
**Remember that positive points are awarded for free throw percentage, field goal percentage, assists, rebounds, assists, and blocks. Negative point values are given for fouls and turnovers. This means students will add the positive amounts together and subtract the negative amounts. Great, great, great practice!
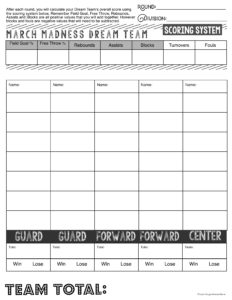 After each round, students will add up all of their starting players’ scores to get their Dream Team’s Overall Score. As a class, you can record each round’s overall score from least to greatest. The greatest score determines the winner of that round. I highly encourage a reward or privilege of some sort for the winning division of each round. You could even have a “Trophy” of sorts that is passed from one division to the next!
There is another sheet that allows you to keep track of the Overall winner of each division, as well as the best individual player and lowest scoring player. Encourage the team with the lowest scoring player to consider replacing them from someone on the bench if that player wasn’t eliminated.
This process will be repeated each round until an overall Division Dream Team is named. Feel free to use a new scoring system for each round to ensure practice over a variety of concepts and skills! If you find additional and effective ways to implement this activity, PLEASE share it with me, so I can share it with others!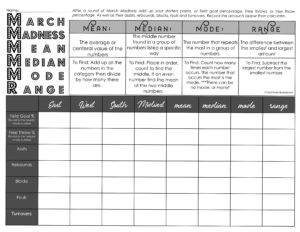
This activity includes fun extensions and activities that you can use to really personalize to your grade’s standards and classroom needs. For example, the March Madness Mean, Median, Mode, and Range page is a lot of fun. Students determine the values based on the division’s statistics.
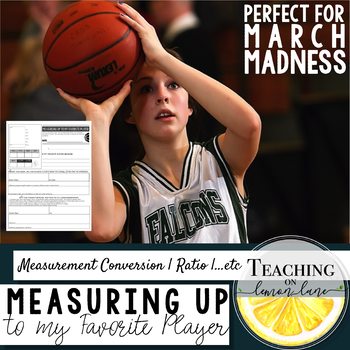
As if that weren’t enough I have ANOTHER Extension for you and its totally FREE to download. Measuring Up to My Favorite Player is a measurement conversion activity that allows students to compare themselves to their favorite players. They also can explore ratios by comparing their own foul-shot percentage to their player of choice.
Click Here for the Free Download
Hope you and your students absolutely LOVE this! I could not be more excited about this one! Would love to hear what you think. Please please please tag me in your photos. There is nothing better than being apart of your classroom!
Like this? You’ll LOVE these!! You should know by now… FREEBIES Included!
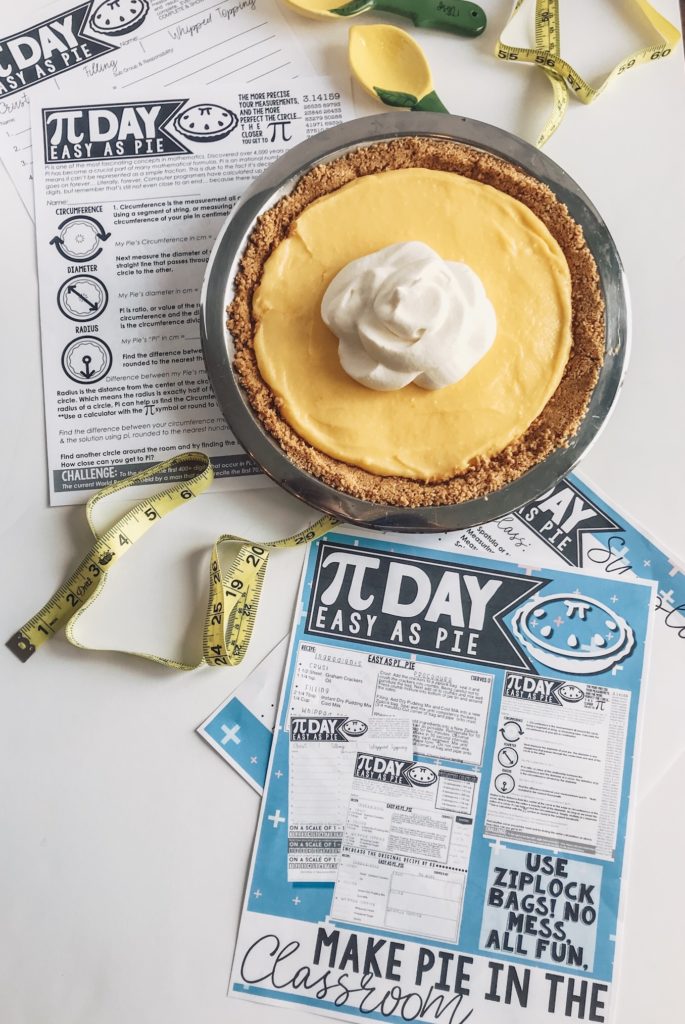
Make Pie in the Classroom for Pi Day using MATH and Ziplock Bags… 1000% Classroom Friendly!

To stay up-to-date on new blog posts, freebies, exclusive promo codes, and sales… Join the Teaching on Lemon Lane Community! Pick any or all of the following to stay in the loop of all things Teaching on Lemon Lane.
- Follow @TeachingonlemonLane on Instagram
- Like Teaching on Lemon Lane on Facebook
- Join our exclusive Teaching on Lemon Lane Facebook Group
- Sign-Up for our Monthly Newsletter: No Spam, only make your life easy-peasy, lemon-squeezy goodness… Promise.
If you enjoyed this PLEASE SHARE! Sharing on Pinterest, Facebook, or tagging on Instagram is a simple, yet wonderful way to support the efforts of Teaching on Lemon Lane!


