This was one of those ideas where in my head it should work, but when it came down to actually doing it… I was nervous… It wouldn’t be the first time what seemed like a great idea flopped (ie. Grow your own Valentine Crystals) BUT…
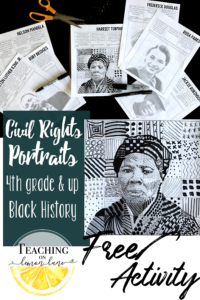
I am happy to report this project went swimmingly! The video below was my first attempt, and by the end, I was THRILLED WITH THE RESULTS 😀
This turned out to be such a cool project where students select one of the following leaders from the Civil Rights Movement.
-
- Harriet Tubman
- Jackie Robinson
- Dr. Martin Luther King Jr.
- Ruby Bridges
- Rosa Parks
- Fredrick Douglas
- Nelson Mandela
It was tough to narrow it down to 7 but the list above includes some of my favorites.
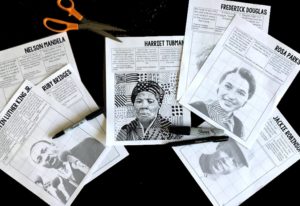
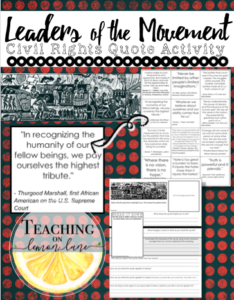
Once students have selected their individual I would start by reading through the quotes at the top of the page. I would then have the students complete this FREE Quote activity that corresponds perfectly with this art activity.
Once the quote activity is completed, if the students are wanting to dive deeper into the individuals who said the quotes, you may consider having them complete a biography report. If so I highly recommend these graphic organizers. These graphic organizers take it a step further by having students identify trials their individual overcame, how we are different today because of them, and how their example can be applied to the student’s life. 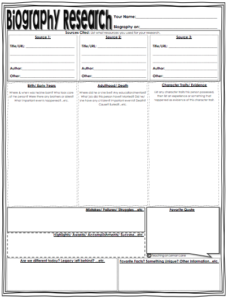
The reason I suggest a biography, is the art projects pair so well with something written about the individual. If a report seems too heavy, having the students select one word for their individual can have quite the impact as well. You could then cut out the completed portrait and glue it to construction paper with the word written in bold on the page with the portrait. This lends well to a lesson on adjectives or character traits!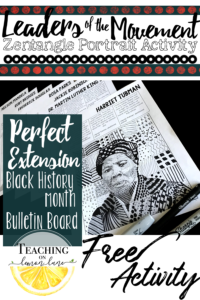
To complete this portrait, the sky really is the limit. I chose to work with black ink: sharpies, fine-tooth markers, and pens. However, who’s to say this couldn’t be completed with other mediums like colored pencils, markers, or crayons. ***If you would like to really make these pop. Have the students complete their portrait using black ink, and then go over the top with watercolors!
Even though these projects look extremely intricate and complicated. I can confidently recommend this project to 4th graders and up, any younger is out of my range of experience, however, I would love to hear if you find anything different. The subtle shading of the portrait is key to the student’s success. It acts as a guide. Where the shading is darker, use more ink, closer lines, bolder colors…etc. Where there is no shading use patterns or designs that are thinner and spread out. A practice page is included for students to brainstorm designs before beginning.
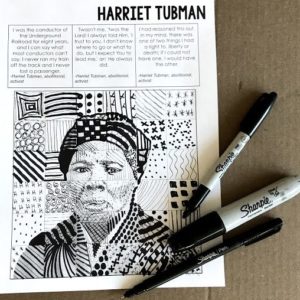
My only tip for success is to make sure the students get the eyes right. I can’t wait to see what you come up with! Please share your results in the private Facebook group, or tag me on Instagram!
***You must be a member to access this FREE Download.
Click Here to access the FREE Civil Rights Art Zentangle Portraits
Happy Teaching!
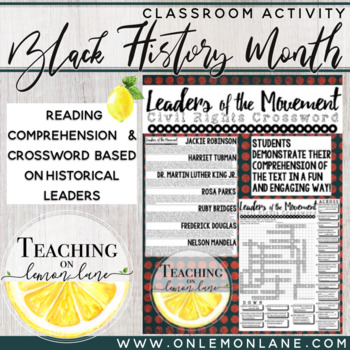
Check out a few of my FAVORITE activities for Black History Month! ** Freebies Included
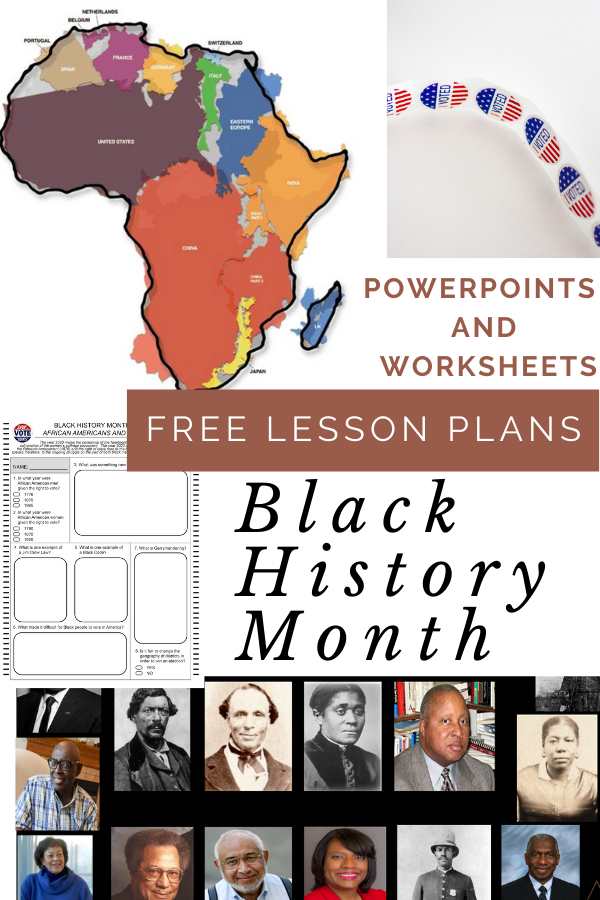
Check out Guest Blogger, Terra Cooper’s FREE Black History Lesson Plans, Powerpoints and Worksheets!

To stay up-to-date on new blog posts, freebies, exclusive promo codes, and sales… Join the Teaching on Lemon Lane Community! Pick any or all of the following to stay in the loop of all things Teaching on Lemon Lane.
- Follow @TeachingonlemonLane on Instagram
- Like Teaching on Lemon Lane on Facebook
- Join our exclusive Teaching on Lemon Lane Facebook Group
- Sign-Up for our Monthly Newsletter: No Spam, only make your life easy-peasy, lemon-squeezy goodness… Promise.
If you enjoyed this PLEASE SHARE! Sharing on Pinterest, Facebook, or tagging on Instagram is a simple, yet wonderful way to support the efforts of Teaching on Lemon Lane!

