 This idea came from my first year of teaching. I noticed my 5th graders still wanted to participate in all the Holiday Fun. However, many of the December projects, crafts, and ornaments were more geared to the younger grades. I remembered doing a string art candy cane when I was their age and set off to find the perfect project. The thing is… I couldn’t find one. So I decided in true On Lemon Lane fashion that I would simply create my own.
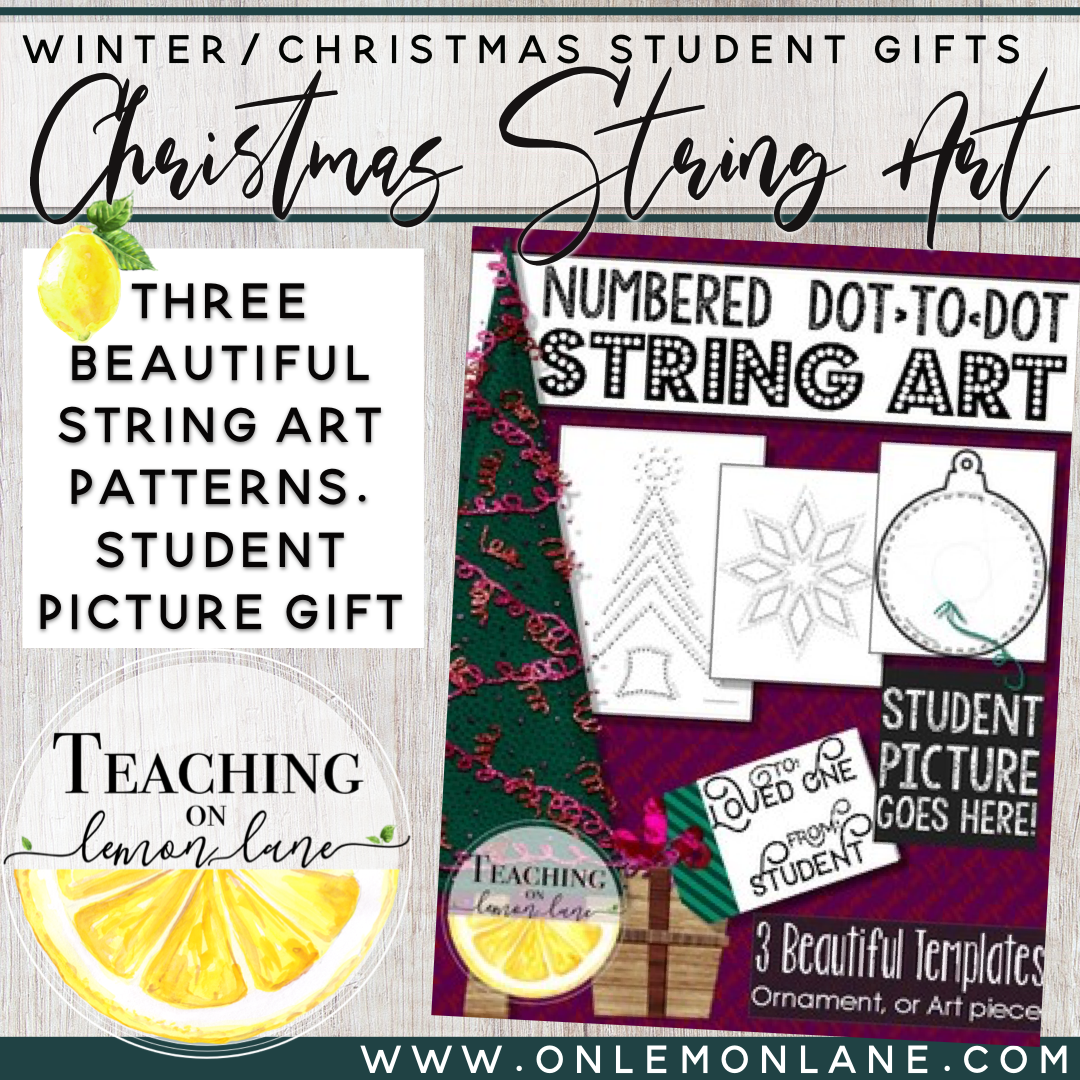
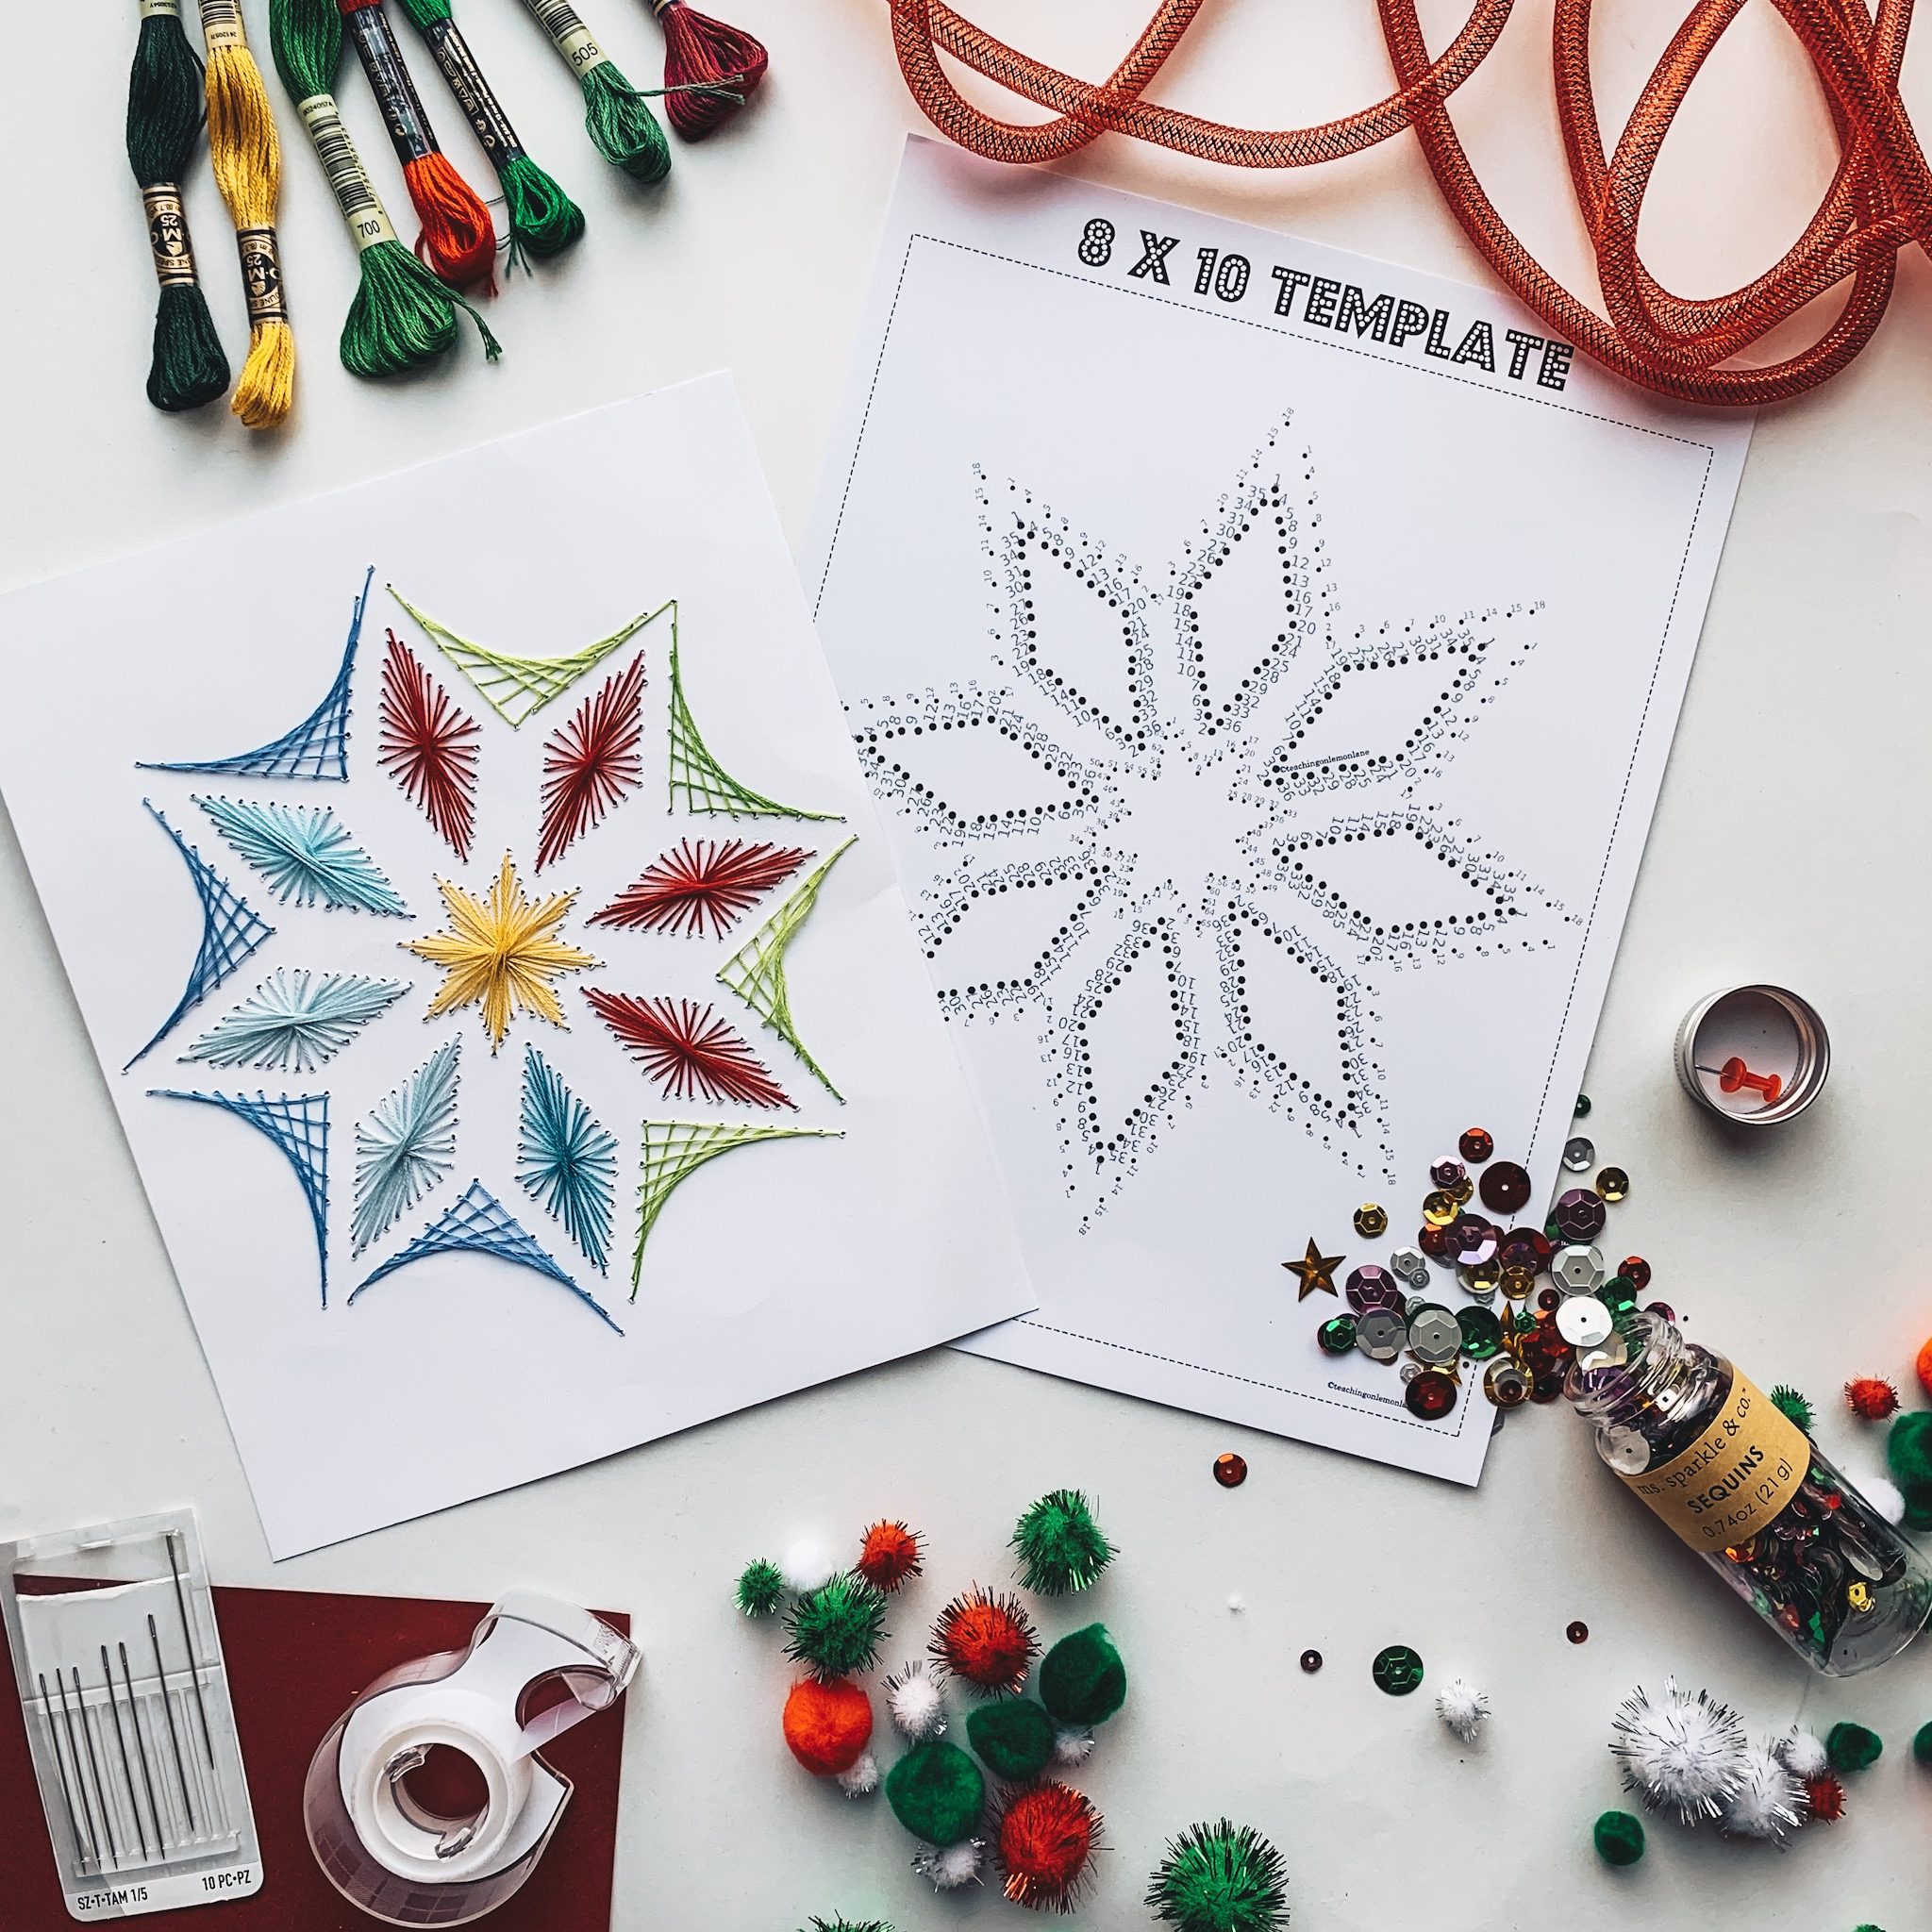
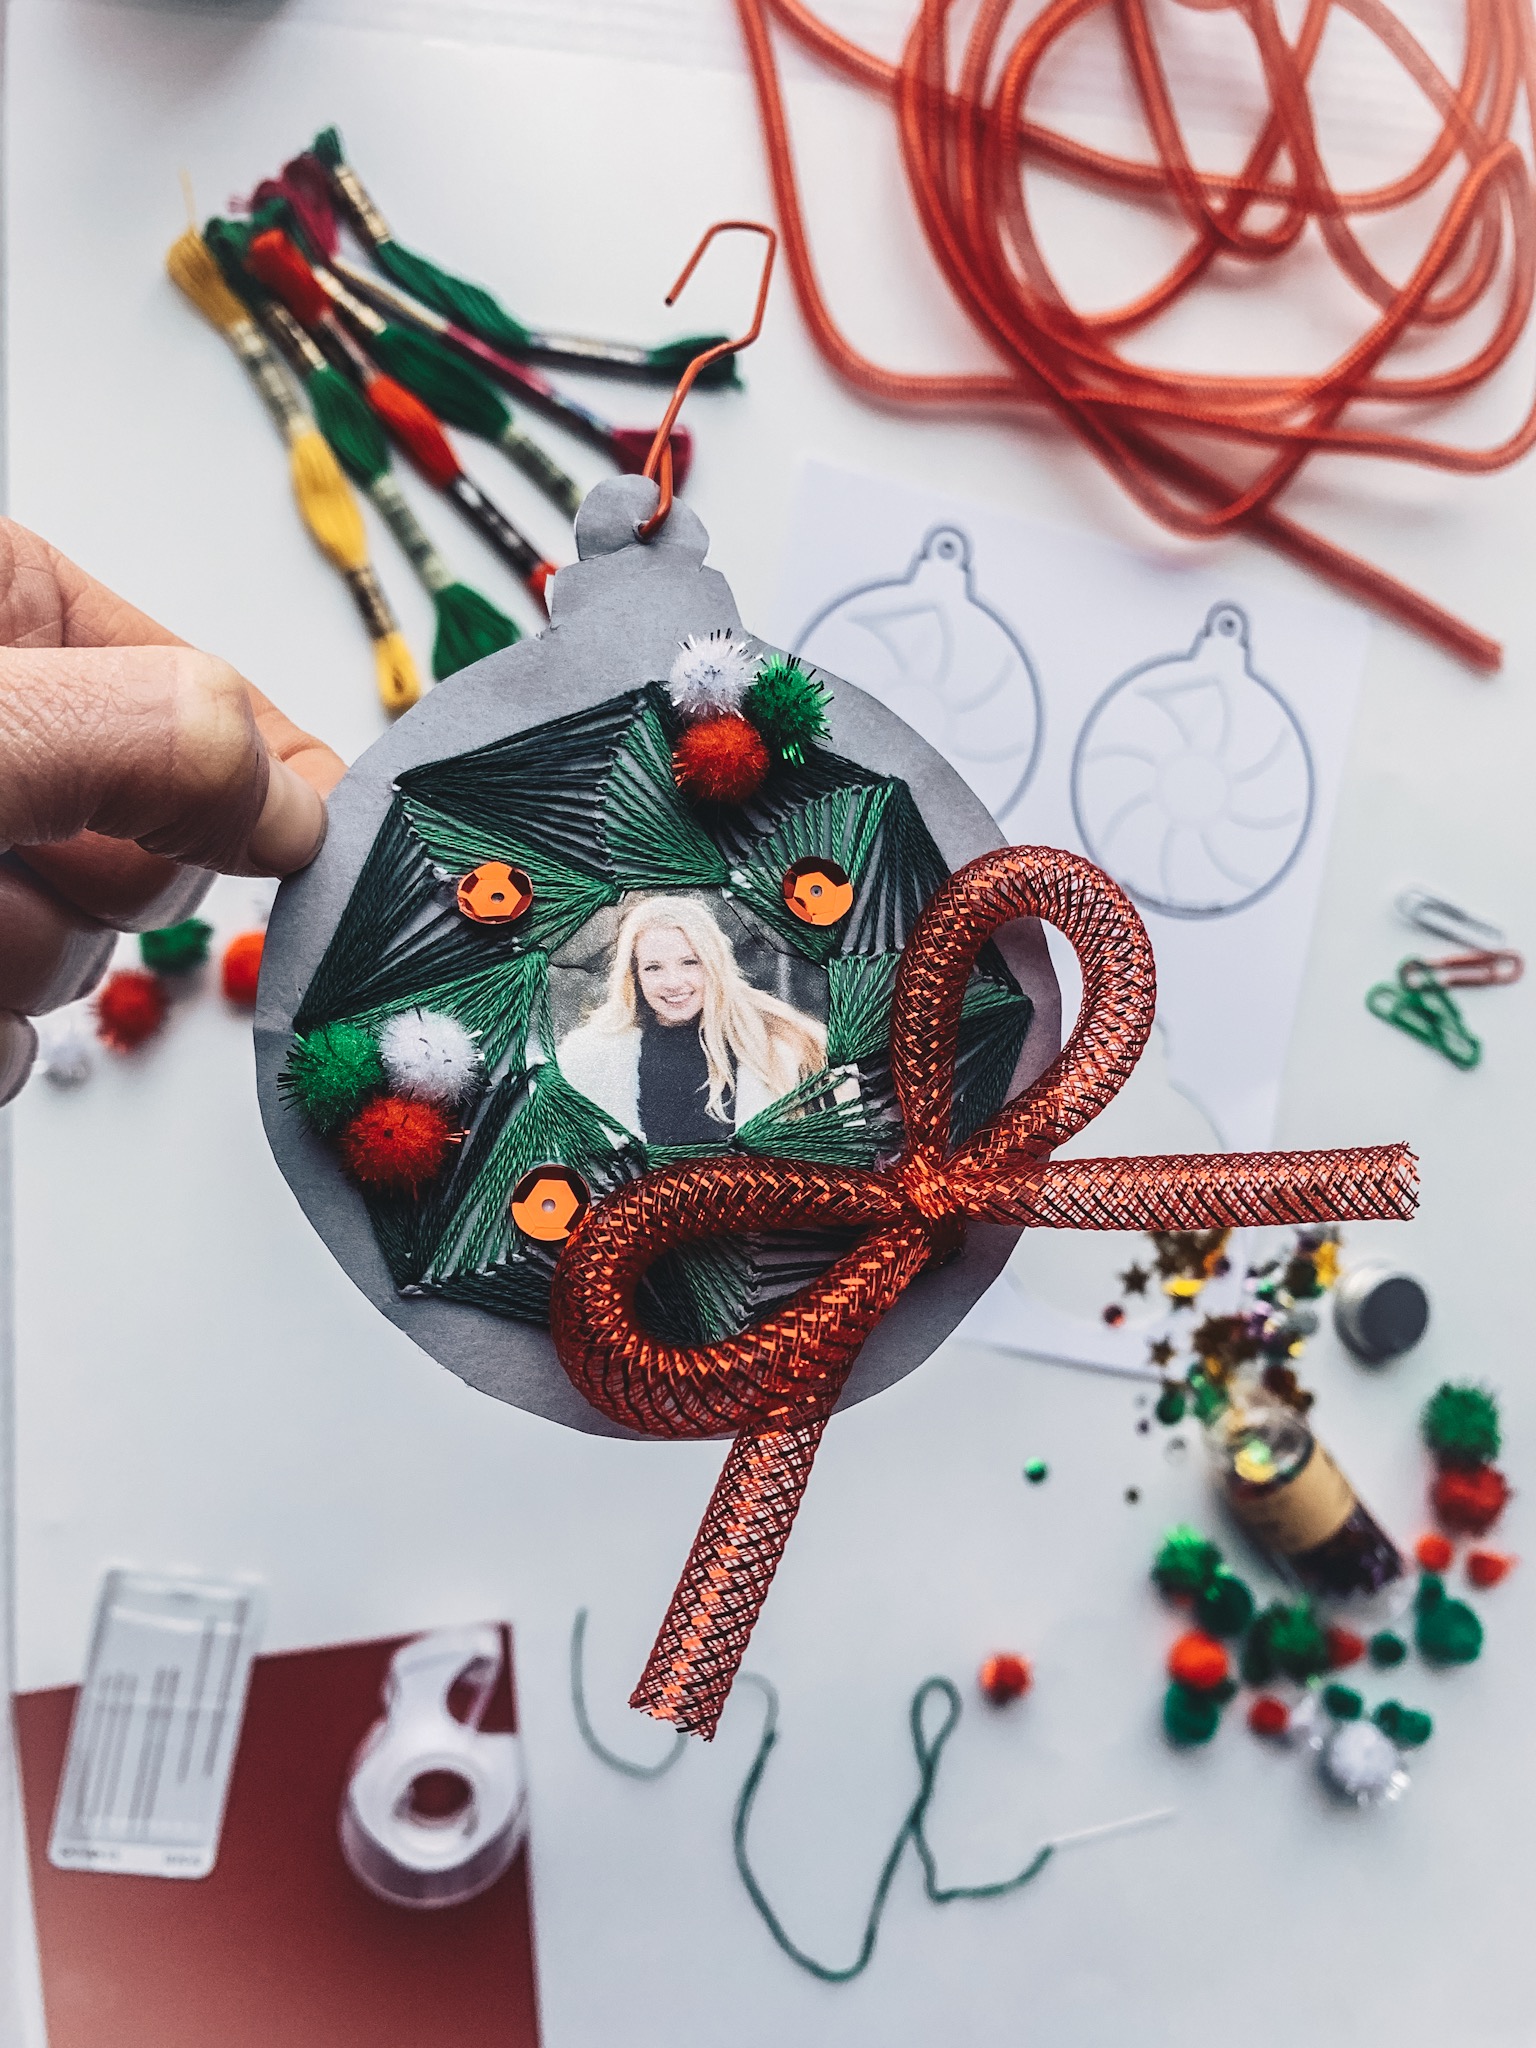
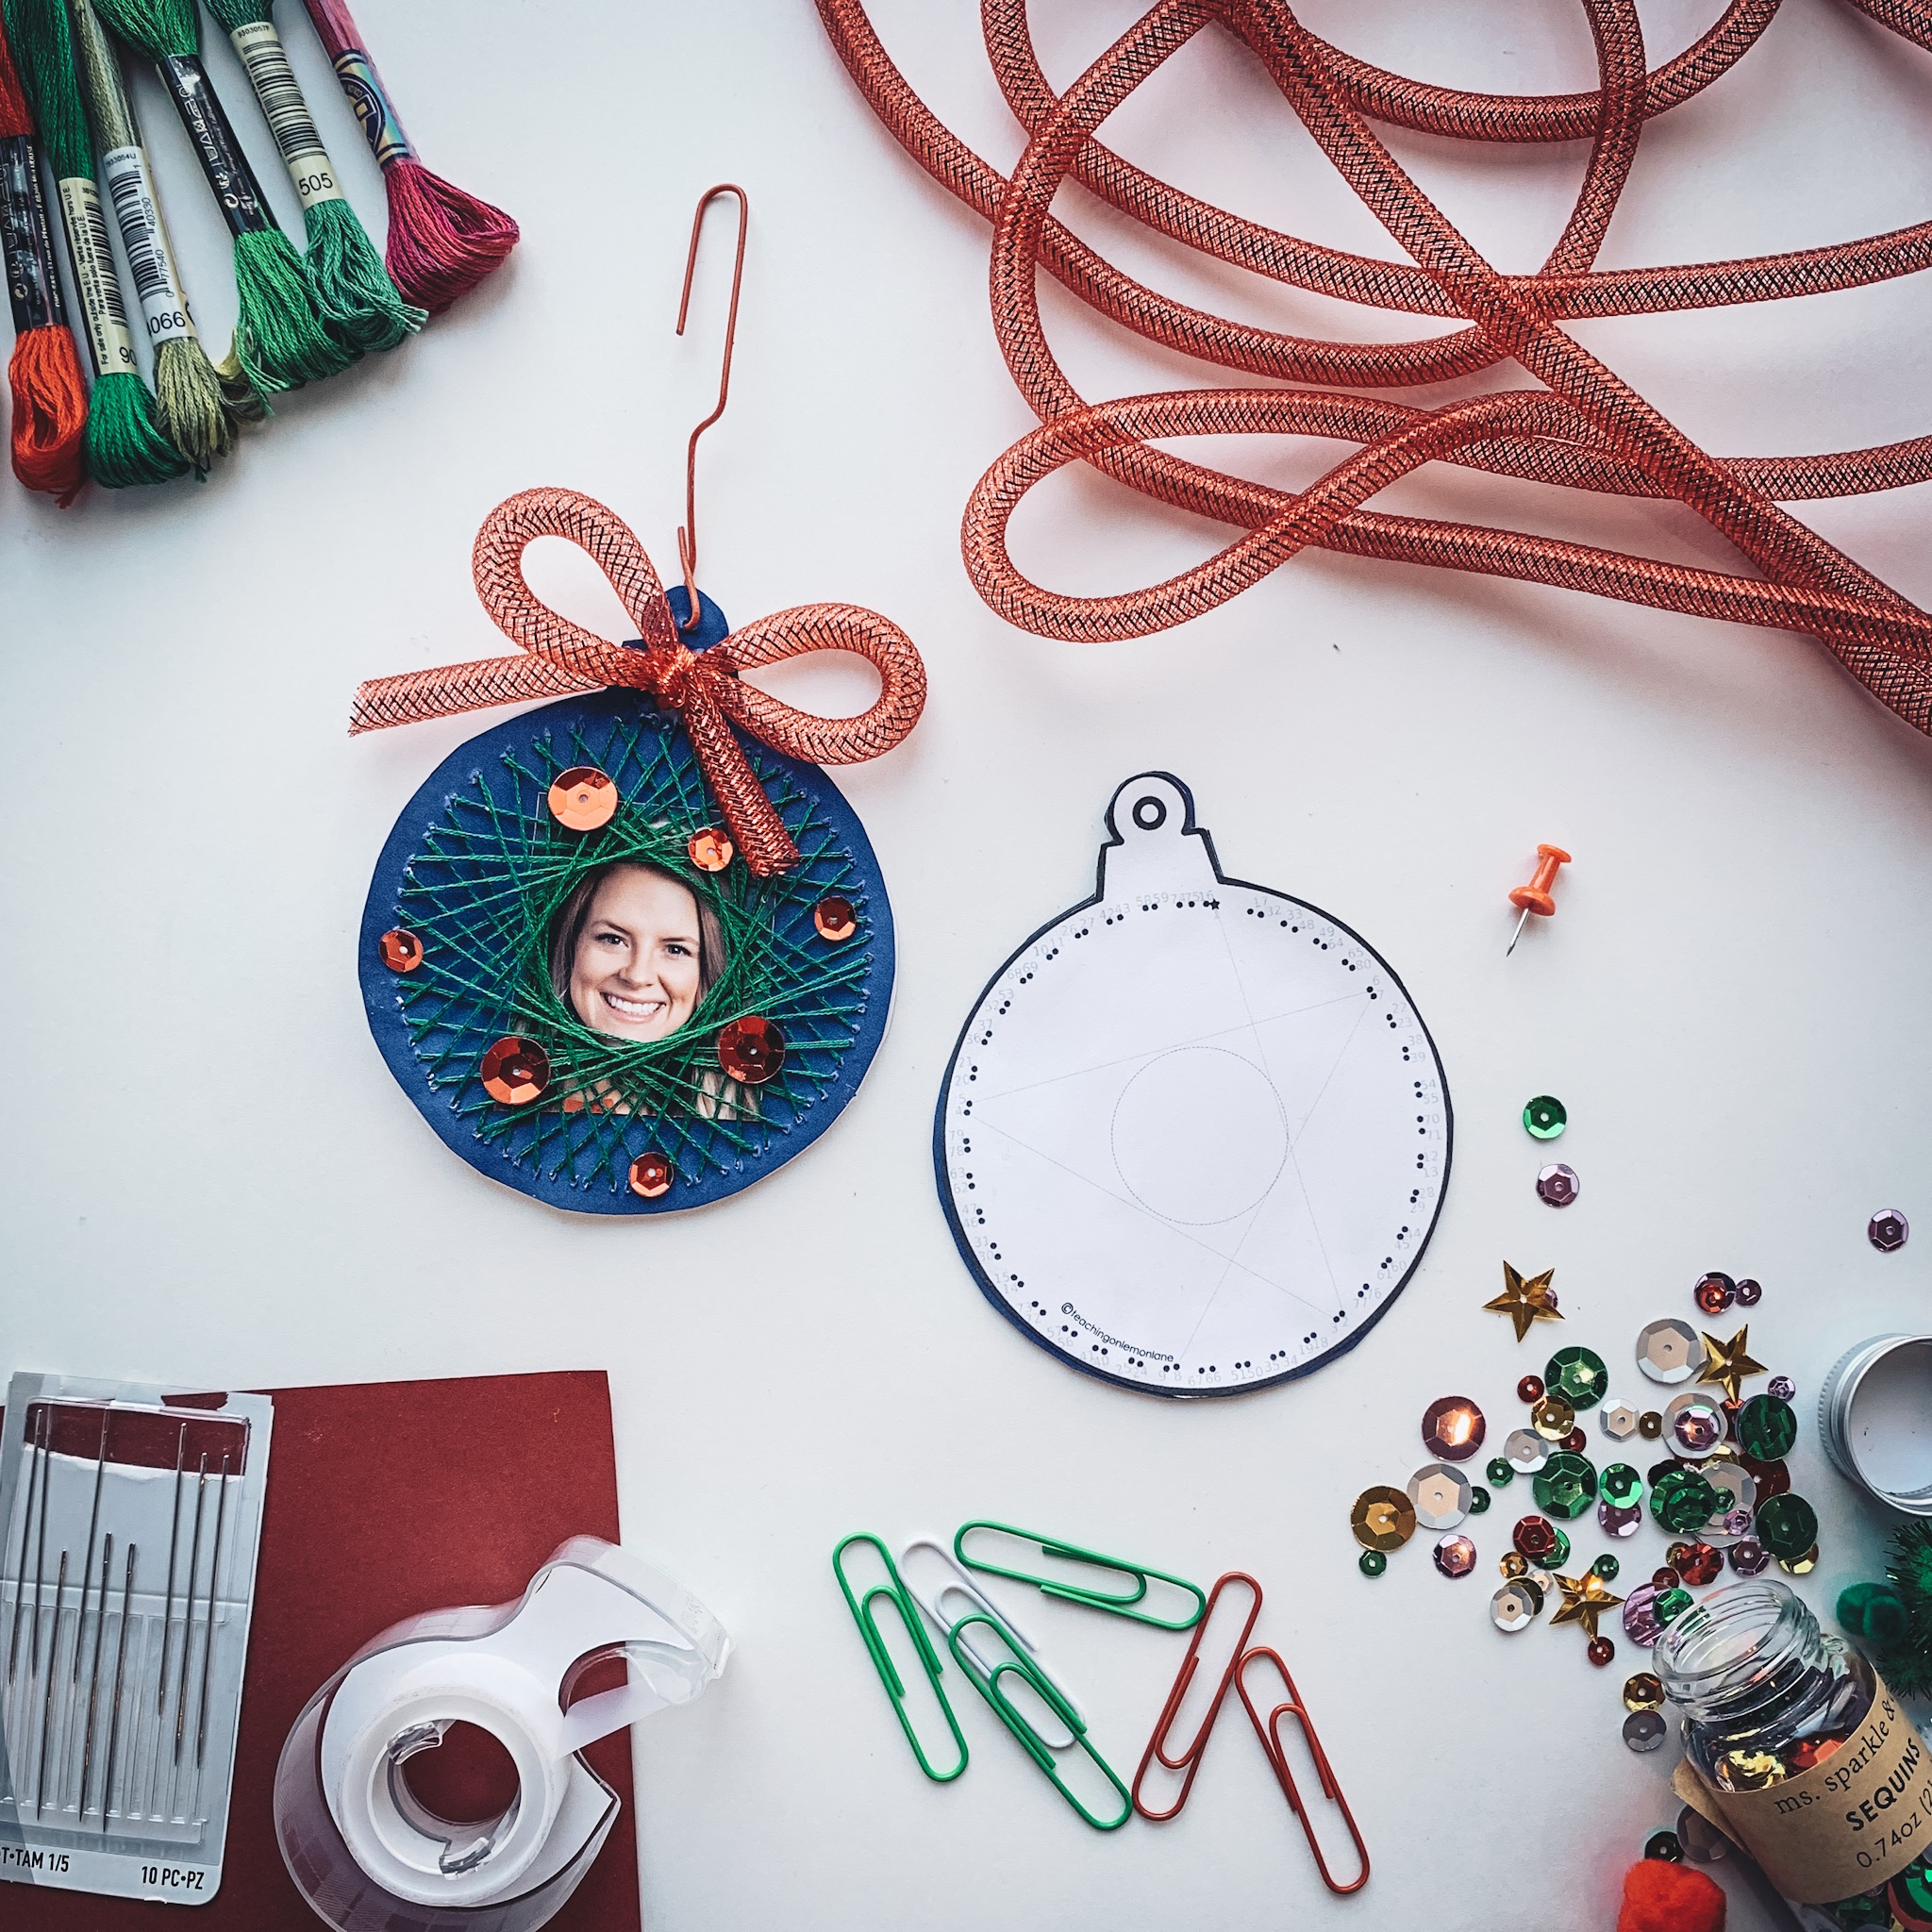
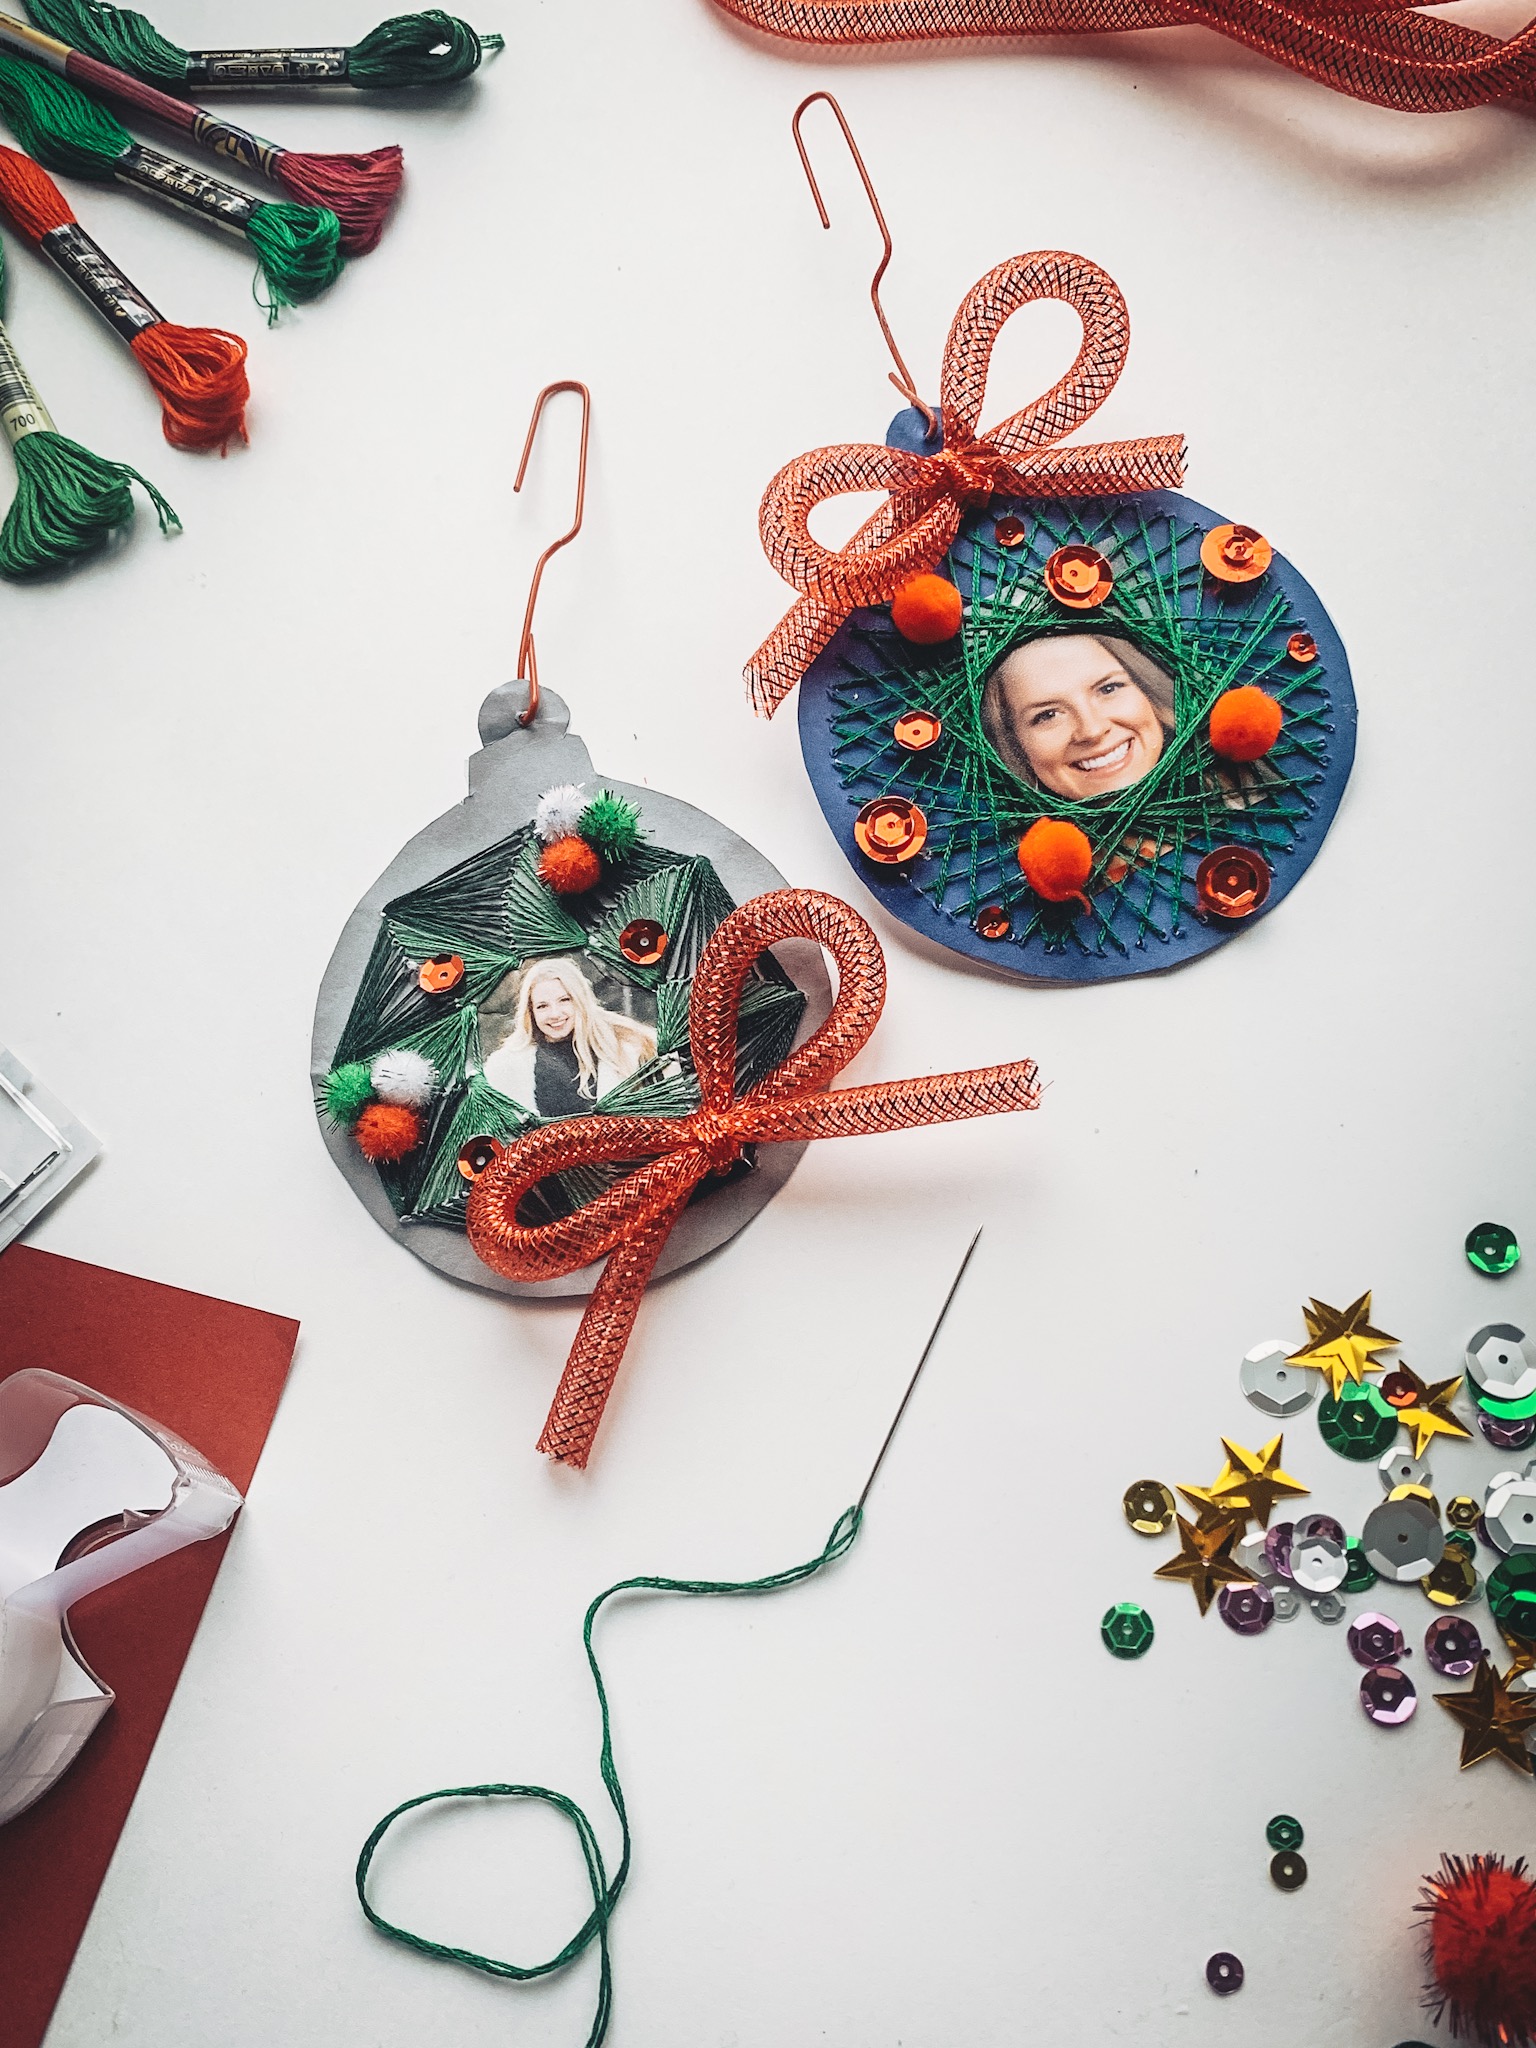
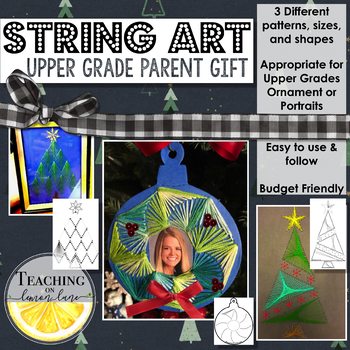
To this day, all of our childhood ornaments hang on my parent’s Christmas tree. Some of my favorite ornaments are those with a school picture on it. There’s something about immortalizing that awkward stage that brings nothing but happiness. Based on that giddiness, I knew I wanted to create a pattern that would allow the option to include a student picture. Thus my original Upper-Grade Template was born. If Ornaments and student pictures aren’t your jam, I’ve also included a 5×7 and 8×10 String Art Christmas tree template that can be framed in a dollar store frame, or even folded on a piece of cardstock to make a beautiful hand-made card.
At the moment there are two options when it comes to my String Art Templates.
- The Original Upper-Grade Templates
- The Numbered Dot to Dot String Art Templates
- For those of you interested in an even simpler process and template ideal for students Pre-K and Up… STAY TUNED!
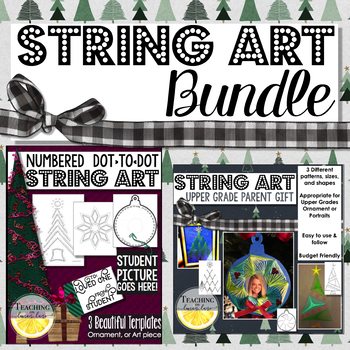
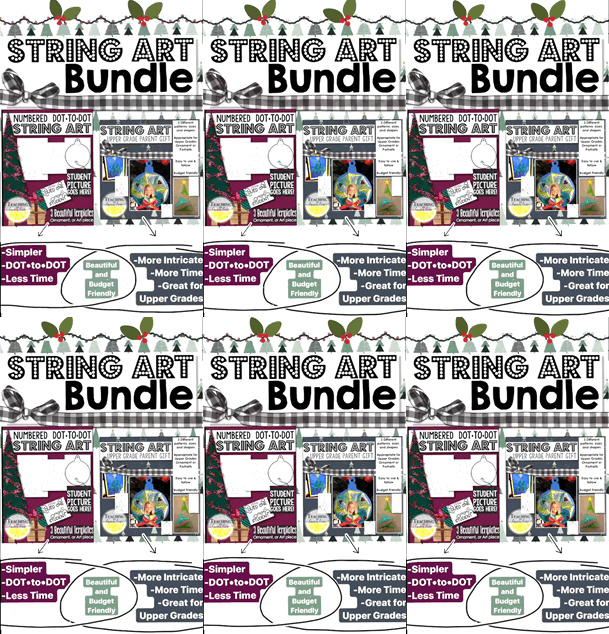 Both of these products include a wreath ornament template perfect for adding a student picture, as well as a 5×7, & 8×10 portrait that can be framed or even folded into a card! Each product has it’s benefits. Both result in beautiful and detailed designs, both are EXTREMELY inexpensive and budget-friendly, and both are sure to be adored by your students and their loved ones!
If you are hoping for a quicker, less complicated project… The numbered dot to dot String Art Templates are perfect.
If you want a more detailed and intricate design or plan to use this project throughout the month as a fast finisher, morning work or center and can commit more time to the project… Then the Original Upper-Grade String Art Templates are wonderful.
Can’t decide between the two, or would like to have the ability better to differentiate for your students or keep your options open… SAVE BIG with the String Art Bundle!
Once you’ve decided which pack best meets your needs, you can check out all my tips and tricks on Instagram. Look for the saved Highlights titles String Art, or continue reading for further details and tutorials.
Despite which template you decide to use, the supplies will be the same.
- Embroidery Floss (Approximately 1 per student, colored thread = 1/4 per student)
- Embroidery Needles
- Threaders
- Tape (I prefer Masking Tape)
- Push Pins
- Glue
- Scissors
- Card Stock
Optional
- Trimmings (Ribbons, Pom-Poms, Sequins, String…etc)
- Student Picture (2 to 3 inches)
- Paper Clips or Ornament Hooks
- 5×7 or 8×10 Frames
 With supplies, Amazon is an Awesome resource, so is your regular craft stores like JoAnn’s, Michaels, or Hobby Lobby. You can even find what you need at Wal-Mart! JoAnn’s offers a teacher discount and matches competitors’ coupons. *** Always use at least a 40% off item coupon.
Needle Sizing
Don’t panic at the idea of an embroidery needle. Embroidery needles are very similar to your regular sewing needle, however, the point is more blunt, and the eye of the needle is larger. Embroidery needles can be found everywhere sewing needles can and are very inexpensive. If shopping online shoot for needles labeled as tapestry or embroidery needles. In embroidery the smaller the size #, the better. In tapestry, the closer the size # is to 18, the better. However, any and all labeled as embroidery or tapestry should work perfectly for what you are trying to do.
Below I’ve included a couple of video tutorials to give you a better idea of the process! Check out my saved Instagram Story Highlights titled, “String Art,” for more tips and tricks!
Video of String Art Breakdown: Numbered Dot to Dot Template Shown
Below is a 5-minute video showing you the ins and outs of this project. This video includes still images. If you are looking for a sped-up video of the process make sure to check out the videos below as well!
Tutorial for Numbered DOT to DOT String Art Templates:
If you are hoping to have this project done within 1-2 class periods, or if you are working with younger grades I would suggest the Numbered Dot to Dot Patterns over the Upper-Grade Templates. I created these patterns to be more user-friendly. Students complete the string art pattern just as they would when completing a regular dot to dot. Another benefit to these patterns is that the student will never use the same hole more than once, unlike the Upper-Grade Templates. This prevents the holes from tearing. ***However, do not dismay. Both Products include my troubleshooting guide for quick and easy fixes in case of knots, tears, or other common mishaps.
Numbered Dot to Dot String Art Student Picture Ornament Tutorial:
This video shows a quick tutorial of the Numbered Dot to Dot String Art Ornament that is created around your student’s picture! These make the PERFECT student-made gift for a loved one during the Christmas Season!
Numbered Dot to Dot String Art Student Picture Ornament Tutorial:
This video below shows a quick tutorial of the Numbered Dot to Dot String Art Christmas Tree Template! This Christmas Tree can be printed in either a 5×7 or 8×10 pattern. To see finished products from real classrooms make sure to Check out my saved Instagram Story Highlights titled, “String Art,” for more tips and tricks! Keep in mind the numbered String Art Pattens also include a Poinsettia| Snowflake pattern if you are looking for a more Holiday type of pattern!
Original Upper-Grade Template String Art Ornament Tutorial
This was the pattern that it all started with! I created these patterns for my FIRST class of 5th graders. I wanted something that was age-appropriate. Something that they could proudly give to a loved one that would be treasured for years to come! More than anything I wanted their cute little picture to be apart of it. Below is a sped-up step by step video tutorial of the Upper-Grade String Art Ornament Pattern. Also included in the Upper-Grade String Art Product is a 5×7 Christmas Tree Pattern and a different 8×10 Christmas Tree Pattern.
Can’t wait to hear what you think! Better yet, what did your students think? Comment below, or let’s connect on Instagram or Facebook! Tag me in your pictures pretty please!
Don’t forget you can check out all my tips and tricks on Instagram. Look for the saved Highlights titles String Art. Here you can find tips, tricks, as well as examples of completed student projects from different classrooms!

To stay up-to-date on new blog posts, freebies, exclusive promo codes, and sales… Join the Teaching on Lemon Lane Community! Pick any or all of the following to stay in the loop of all things Teaching on Lemon Lane.
- Follow @TeachingonlemonLane on Instagram
- Like Teaching on Lemon Lane on Facebook
- Join our exclusive Teaching on Lemon Lane Facebook Group
- Sign-Up for our Monthly Newsletter: No Spam, only make your life easy-peasy, lemon-squeezy goodness… Promise.
If you enjoyed this PLEASE SHARE! Sharing on Pinterest, Facebook, or tagging on Instagram is a simple, yet wonderful way to support the efforts of Teaching on Lemon Lane!


